Introduction to Maya
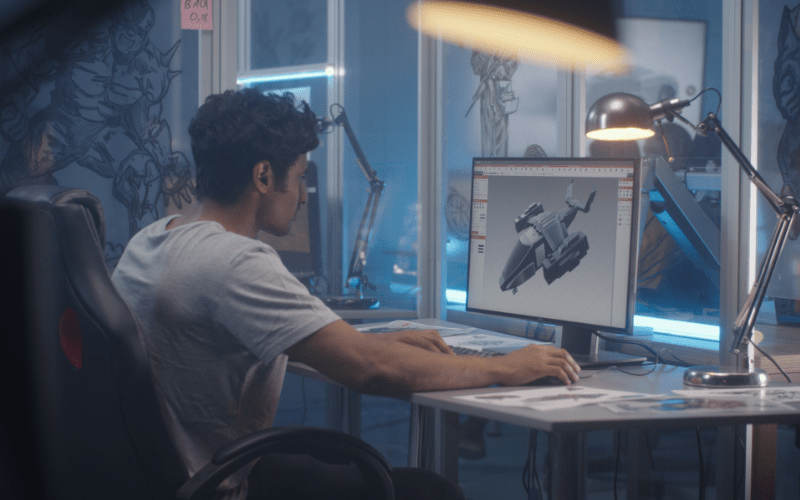
Maya is a popular 3D computer graphics program used in film, television, video games, and advertising. It’s known for its powerful modeling, animation, and rendering tools. In this tutorial, we’ll give you a crash course in Maya. We’ll cover the basics of the interface, show you how to create and manipulate objects, and animate your scene. By the end of this tutorial, you’ll have a good understanding of how Maya works and be able to create your own 3D animations.
The Interface
The Maya interface is both intuitive and user-friendly, making it easy for beginners to get started with 3D modeling. The main window is divided into several sections, each of which serves a specific purpose. The left sidebar houses the Modeling and Animation tabs, while the right sidebar contains the Timeline and Attribute Editor. The main viewing window is where you’ll do most of your work, and it’s where you’ll see your models come to life.
Modeling Basics
In 3D computer graphics, modeling is the process of creating a three-dimensional representation of any surface of an object (either inanimate or living) through specialized software. The product of this process is called a 3D model. Someone who works with 3D models may be referred to as a 3D artist.
The basic steps for creating a 3D model can be broken down into the following phases:
1. Pre-production: This is the conceptual phase where the idea for the model is first generated. During this stage, the artist will decide on the general shape and style of the model as well as any specific details that need to be included.
2. Modeling: This is the phase where the actual 3D model is created using software such as Maya. During this stage, the artist will define the geometry of the model as well as create any textures or materials that need to be applied to it.
3. Animation: This optional phase involves adding movement to the model so that it can be used in an animated sequence or video game. Animating a 3D model typically requires additional software such as MotionBuilder.
4. Rendering: This final phase produces a finished image or animation from the 3D model which can then be viewed by others. To do this, special rendering software such as mental ray is used to generate light and shadow effects as well as other realistic visual details.
Texturing
When it comes to 3D modeling, texturing is one of the most important aspects to get right. Not only does it make your models look more realistic, but it can also play a big role in determining the overall look and feel of your scene.
In this tutorial, we’ll take a step-by-step look at how to create textures in Maya. We’ll start by covering the basics of texture creation, including an overview of the different types of textures that you can use. We’ll then move on to discussing some of the different techniques that you can use to texture your models, including UV unwrapping and projection painting. By the end of this tutorial, you should have a good understanding of how to create and apply textures in Maya.
Lighting and Rendering
In 3D computer graphics, lighting and rendering refers to the process of creating images from three-dimensional models. This process can be divided into two steps:
1. Lighting: The first step is to calculate the light that hits each point on the surface of the model. This is done by tracing rays of light from the lights in the scene to the surface of the model. The color of each point on the surface is then calculated based on the light that hits it.
2. Rendering: The second step is to create an image from the calculated colors of each point on the surface. This is done by projecting the 3D model onto a 2D plane (the image plane) and sampling the colors of points on the surface.
Animation Basics
Animation is the process of creating the illusion of motion by stringing together a series of still images. When these images are shown in rapid succession, they appear to move.
The earliest examples of animation were created using rudimentary drawings or paintings on a frame-by-frame basis. Today, thanks to technology, animators have a vast array of tools at their disposal to create realistic and lifelike animations.
Maya is one of the most popular 3D animation software programs available today. It is used by major studios all over the world to create some of Hollywood’s biggest blockbusters.
In this tutorial, we will take you through the basics of Maya and show you how to create a simple animation using this powerful software program.

Particle Effects
Particle effects are a great way to add realism to your Maya renders. In this tutorial, we’ll go over how to create and tweak particle effects to get the look you want.
We’ll start by creating a basic fire effect. To do this, we’ll use the default Maya particle system. First, create a sphere in the center of your scene. This will be our emitter.
Next, go to theCreate menu and select particles > new particle context > default particle settings. This will bring up the particle settings window.
In the “Emission” section, set the “Rate” to 1000 and the “Duration” to 1 second. This will create a lot of particles over a short period of time.
Next, go to the “Render Settings” section and set the “Render Type” to “Cloud.” This will give our fire some volume.
Finally, go to the “Shading” section and set the “Color Mode” to “Hue.” This will make our fire more realistic by giving it some color variation.
Now that we have our basic fire effect, we can add some realism by tweaking the settings further. For example, we can change the emission rate and duration to make the fire build up over time or die down gradually. We can also change the render type to “Line” or “Spherical” to give our fire more definition. And we can add turbulence or gravity to make our fire move in interesting ways.
Once you’ve tweaked your settings to get the look you want, you can render it out and see how it looks in the final image. With a few simple tweaks, you can create realistic fire effects that will enhance any scene.
Conclusion
In conclusion, learning Maya is not as difficult as it may seem. As long as you are patient and willing to put in the necessary work and effort, you should be able to master this powerful 3D animation software. With a little bit of practice, you will soon find yourself creating amazing animations that would have otherwise seemed impossible. So why wait? Start mastering Maya today!
Maya 3D Animation Services by Austin Visuals: Bringing Your Imagination to Life
Austin Visuals offers 3D animation services using industry-leading software like Maya. Our team of skilled 3D artists creates stunning visuals and animations for various applications, including video games, film, medical and scientific animations, and product demonstrations. With our expertise in Maya, we can bring your ideas to life and create immersive 3D experiences that captivate your audience. Whether you need 3D models, character animation, or visual effects, we can deliver high-quality results that exceed your expectations.
Our Services
- 3D Animation Service for Video Games
- Commercial Video Production
- TV Advertising for Television and Web
- Branded marketing video production
- 3D Animation Techniques
- Medical 3D animation
- Explainer video production
- Virtual Reality VR / AR / 360
- Mobile application development
- Motion graphics
- Live video
- Also, Visual Effects (VFX)
- 2D Characters Cartoon Animation
Want to know how we can help? Have questions? Have a project to discuss? Message us using the contact form below, email us at [email protected]. Also, call us at (512) 591-8024 to meet with a member of our team today.


